Emile's EVA Helmet
- josephaguilarsanch

- Aug 24, 2021
- 7 min read
Updated: May 1, 2022
The most accurate recreation of Halo's second most famous helmet. Good enough to give Elite Zealots everywhere PTSD.


My inspiration for this project was motivated by the fact that I am no expert prop maker and I wanted to model my helmets in such a way that makes printing/painting/assembling them more accessible to people with less experience/fewer resources.
Additionally, I wanted a model that could accommodate common 3D printers, so that the model is accessible to everyone.
With that being said, let's take a look at everything I did to ensure everyone can own their own piece of Reach history.
Major Features
Unique, Easy-To-Assemble Design.
This helmet was designed to fit together like a 3D puzzle. This model is comprised of 30+ pieces. All of the large major pieces are designed to snugly fit together utilizing aligment pegs that allow for the helmet to be securely assembled/dissembled without the need for screws/glue. This helmet is printable in such a way none of the pieces require glue to assemble, this ensures that there are no ugly seams to hide/sand away.
This multi part design makes painting and sanding individual pieces easy as well as allows you to finish pieces as others print. I personally printed the helmet nonstop and as the molds were finishing the rest of the helmet was complete and painted. From start to finish, it only took me around 3 weeks to complete the helmet/visor. Keep in mind I only do this as a hobby, much like many of you.
There is a certain order to assemble the helmet in to ensure everything fits together and locks itself securely in place. A .txt file is included with the model to ensure you assemble the pieces in the correct order.
HUL Accessory
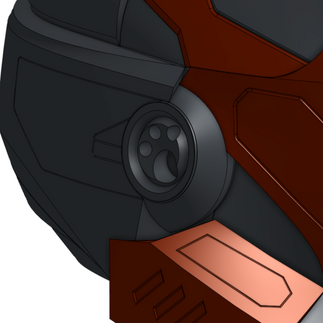
This model comes with two different Ear models. One with attachment features and one without, this ensures that you can add and remove the HUL accessory as you please. Note, that the circular ear piece is its own small piece separate from the main body. So printing the two versions does not require a large time/material investment.
Air Intake Features
This model includes two separate air intake features. The first intakes air from the sides of the helmet and leads the sides/base of the neck. The second are the two vents located around the sides of the mouth.
Sizing Ring
Model includes a sizing ring to help you scale the helmet to fit over your head. Sizing ring is equal to the size of the throat of the helmet so make it so you can fit your whole head through without slicing your ears/nose off. Whatever you scale the ring to, scale the rest of the helmet to.
Multiple Visors/Multiple Visor Molds
For Cosplayers everywhere, the visor to the EVA helmet has always been the hardest to fabricate. In this model I have included a model for both the base version of the EVA helmet and Emile's Version of the helmet.
Additionally, I have made a habit of make all of my visors castable as resin and I wanted this project to be no different. This model includes, by far, my largest molds ever released. Additional this model does not utilize a rubber/silicon mold. What you print is what you use as the mold. This mold features two inlet holes in which to insert syringe tubes to ensure you inject the rest from the bottom to fill every nook and cranny of the mold. The mold itself is two massive pieces that slide together from the front and back. I tried several different mold designs but this one came out to be the most effective and simplest.
There is a large conical feature to reduce on print time/material on the buck. That being said, each piece takes around 4 days to complete.
The base visor takes around 407 ml or resin.
Emile's version of the visor takes around 377 ml.
Smooth Ergonomic Interior

This helmet was design to have smooth, spacious head cavity. This allows for the inclusion of whatever interior helmet accessories you want, padding, speakers, fans, etc. Additionally, it saves on material and print time.
Builds
This is actually my prototype of this helmet. After printing it I realized the top cap required a couple more alignment features to ensure that the helmet would securely stay together without glue. As a consequence, I had two glue two pieces together in the prototype, but outside of that, the helmet fit together like a dream. I have since added the necessary design updates to the model currently being sold in order to fit my usual "no glue required" style.
I tried several mold designs and the new 2 piece design was simple and effective with the downside being outright size and material. I conducted a fitting test with some 150 ml syringes (in order to inject the resin) and tubing to ensure I could fit the tubes all the way to the bottom of the mold. I would warn against larger syringes as the pressures involved with the viscous resin, spread across the large surface area of the larger syringes, made it near impossible to inject. Once I finished sanding the molds smooth, I applied some silicon to ensure no resin leaks out and that they fit together perfectly (using soap to ensure one end doesn't stick to the silicon, so they can still be separated at will). The actual resin visor did not come out as good as my previous projects. This was due to a number of things I decided to try for the first time on this massive one-shot mold. For one, I tried some nonstick spray to ensure I could remove the mold pieces from each other once the resin cured. In the future I would actually try an official demolder agent. I read that you could use nonstick cooking spray but it ended up just mixing with the resin and making all these crazy swirl patterns. Additionally, I half-assed the silicon application and the resin ended up still leaking out a bit into all the seams between the two mold parts. All this ended up meaning the only way to remove the visor was to melt away the mold with a heat gun. (On a side note, this has inspired me to revisit some previous mold designs with some thin one-shot resin molds that just requires you to sand a resin cast instead of making silicon molds).
Additional note, if you find yourself having to melt away a 3d printed mold with a heat gun, realize that the resin inside will also get floppy, try not to deform or damage your precious resin cast!
I tried making a nice smooth surface using primer + wet sanding, but the paint ended up coming off on the resin any way so In the future i would just go with some initial sanding of the mold. Other than that, the resin injection worked like a dream. Injecting the resin from the bottom rather than trying to pour from the top made sure there were no bubbles near the bottom and the resin poured into all the nooks and crannies. The real issue with this visor was that, because I half-assed the siliconing, so much resin seaped out that even with the extra resin I prepped, I had to quickly make a second batch of resin to top off the mold (hence why you can see two different shades of red in the visor). That mixed with the non-stick spray mixing with the resin, means that this visor is not see-through like my previous visors. I went ahead and polished it anyway so the surface is shiny, but there are all these interesting swirls patterns and patches of differing shades of red. I like to tell myself that the helmet has some sort of plasma burns or something lol.
Anyway, after I sanded to around 600 grit, I spray painted the skull chrome and then sanded away the chrome from the outside of the skull to make sure the skull design was preserved. I couldve used blue painters tape and a knife, but again, I got lazy and just wanted to finish this visor. (The visor definitely took longer than the actual helmet.) Once the Skull design was painted in, I went back and sanded 600>1500>2000>3000>Flitz polish, to ensure I got that mirror like polish on the visor outside.
Flashback to the building process of the actual helmet..
The multi part design made sanding and painting each individual part much easier and allowed me to get a glossy smooth finish all the way up to each edge on the helmet. If the helmet was one solid piece, all the nooks and crannies would've been a real pain to try and smooth and would probably have lead to visible layer lines on all those inner edges.
Additionally because I was able to print pieces at the same time I was painting them, from start to finish, I was able to complete the helmet body in just 3 weeks!
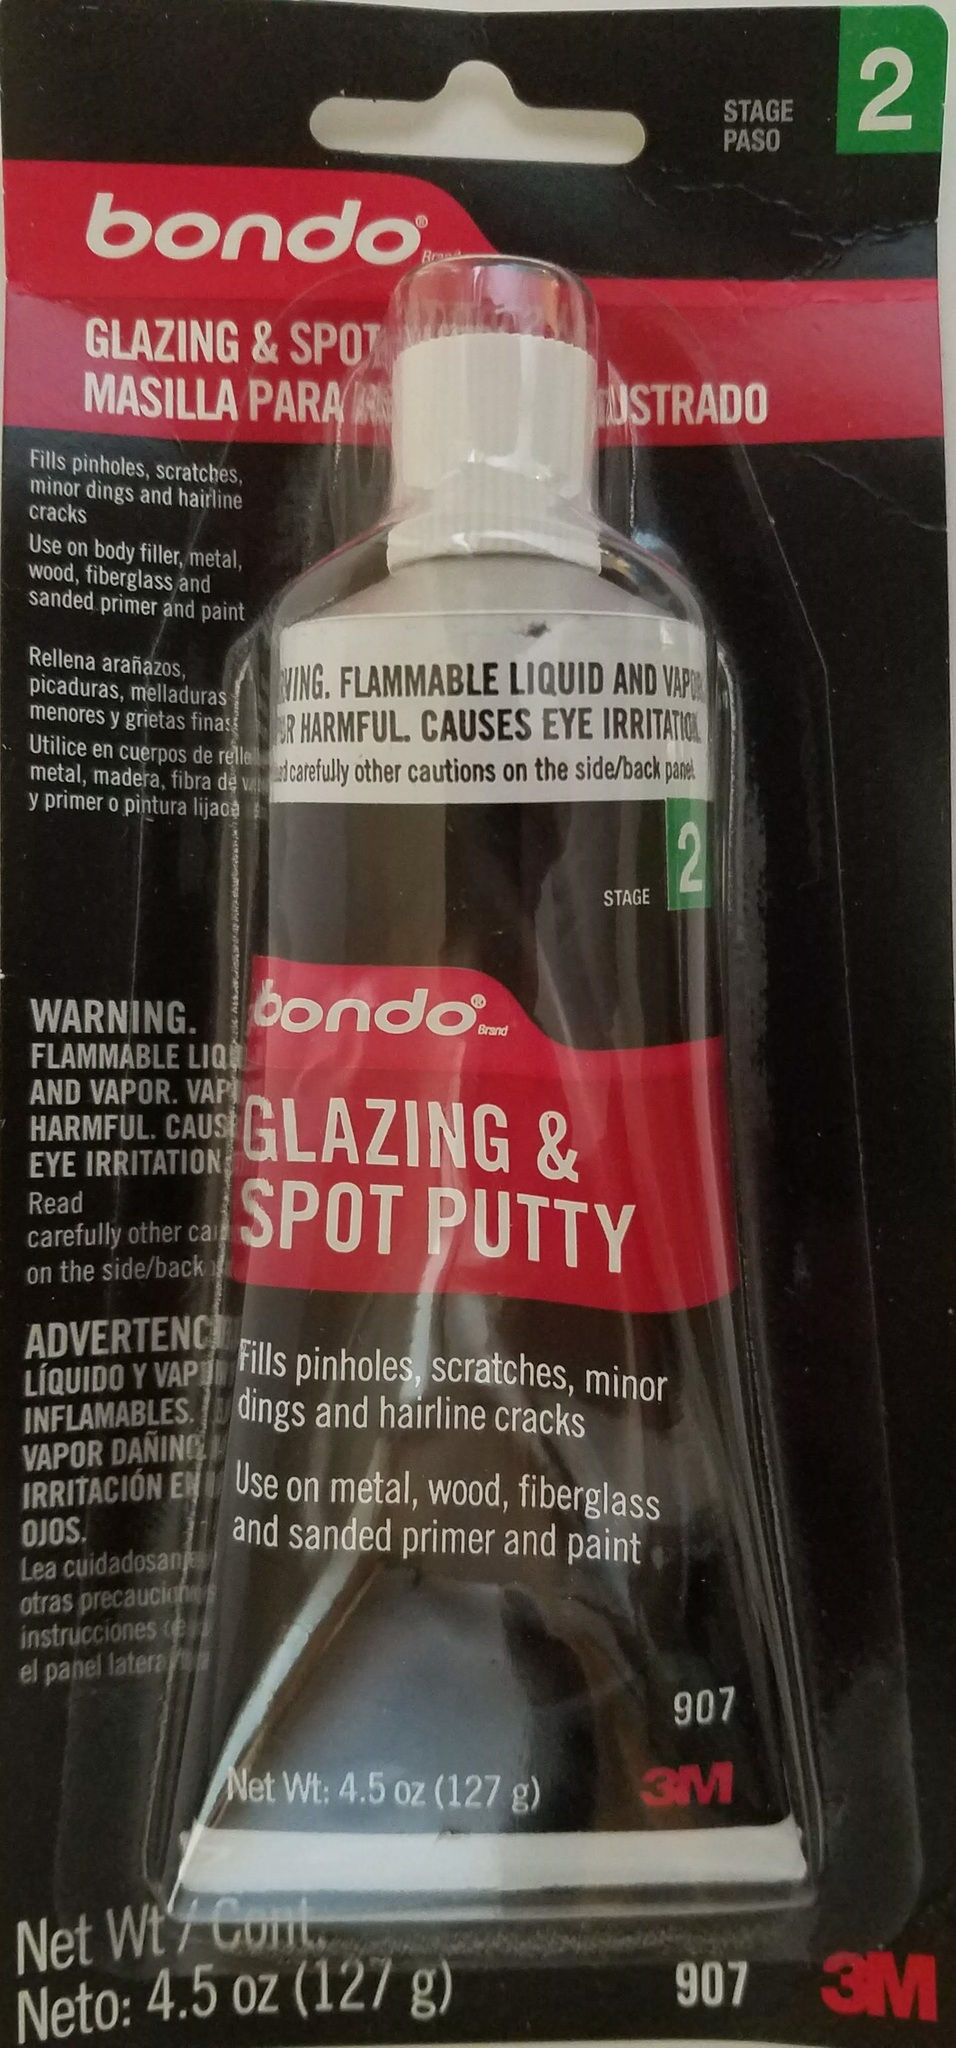
When painting this model, I was able to get such a glossy finish by using a new technique of alternating between primer and bondo.
- First, apply a layer of sand-able filler primer to you initial 3d print.
- Next, sand away as much of that layer as you can with one quick pass of sand-paper, electric sander, dremel, etc. You should still have some spots where you still see the primer in the deeper layers, more uneven areas. I usually use 80 grit for this. This is not meant to get the object super smooth, mostly just to show you where bondo will be necessary
- Next, apply bondo to the spots where you still see the gray primer. I usually wet sand this away with 600 grit. This works well with the bondo shown below. If you get the bondo that is not premixed and comes with the hardening agent, you may need to use higher grits to get through it in a timely fashion. Again, don't spend too much time on this layer either, just make sure you sand enough away so that all the previously grey/primered areas are now red and smoother than they were before.

- Next add another layer of primer, wet-sand this with 600 grit till your model is now smooth. You should be able to see light reflect of the primer at this stage. I recommend 600 grit because it tends to hit the sweet spot of smoothing the paint, but also sanding the paint away quickly if its still not perfectly smooth. This will make quick work of swirl lines from the previous grits.
- At this point your piece should be mostly shiny-grey. You may see some small problem areas at this point, so repeat the previous two steps in these small spots as necessary.
- Lastly, you apply your paint! For this project I chose glossy enamel paint. The enamel paint tends to be hardier and stick to the props better. They are also more resistant to damage. Additionally if you need to sand it, it sands slower and can act the same as the primer from previous steps.
What Next?
If you are looking to create you own models like this one feel free to checkout all of my tutorials on 3D modeling and prop making techniques.
If you are looking to purchase the model so that you can print your own you can find it in the store.
Lastly, make sure to check back in every once in a while to see what I've been working on
Thank you for your time


