Scout Helmet
- josephaguilarsanch

- Sep 10, 2022
- 4 min read
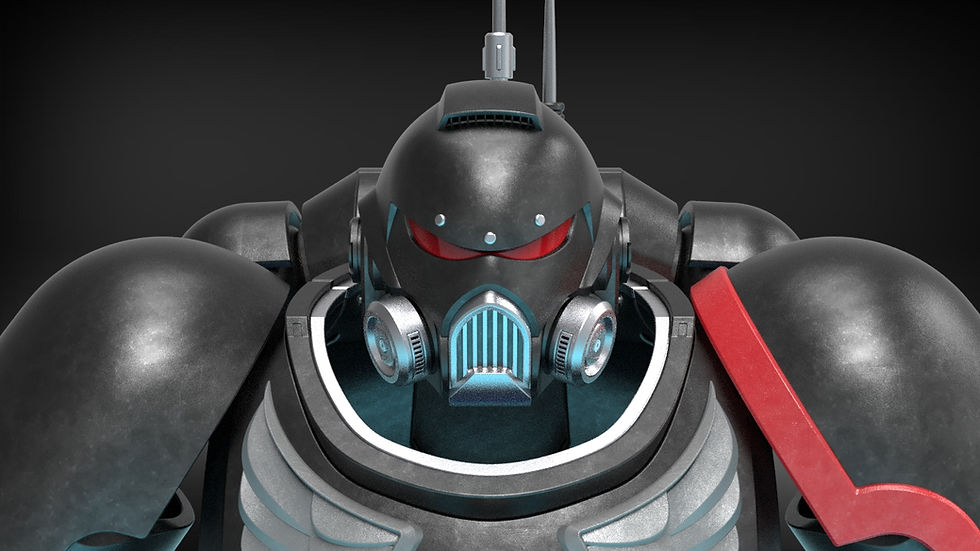
If you want to take the hat off an Elite at 2000 yards, you're going to need one of these

This project started off as custom commissioned scout helmet that was designed to be hermetically sealed and compatible with a NATO 40mm gas filter adapter. The gas filter connected through a custom port in the back of the helmet. This custom port could be swapped out with a costmetic AI chip attachment when not in use to fit in with the Halo asthetic.
This was a really fun custom commission with a very easy to work with client, but I now had to modify that commission for general release. Luckily I ended up with one of my favorite helmet builds to date. The hermetically sealed nature of the custom build meant that the general release build was less pieces overall than my other helmet builds, which makes it even simpler to assemble. Additionally, I got to experiment with magnetic assembly and created a helmet that fits so well, I will likely use magnetic attachments in all my builds going forward. Speaking of attachments, this helmet (in addition with some of the previous helmet attachments) comes with a CBRN attachment with removable filters.
I'm super excited to dive into all the individual features of this helmet, so without any further delay, lets get into it
Major Features

Magnetic Assembly


This helmet is comprised of only 5 major pieces. This makes it the easiest of my helmets to assemble. The main bucket is only comprised of the top 3 pieces and the neck and mandible are magnetically attached after the wearer don's the main bucket. This allows the user to drastically reduce the overall size of the helmet, as they dont have to worry about fitting their entire head past the throat of the helmet.
The mandible and neck all utilized a standard 10mm x 3mm disk neodymium magnet to attach to the helmet. There is plenty of room to fit the magnet in the designated slots shown in the screenshots. Ensure that you secure the magnets by either glueing them in their slots or covering the entrance. This will ensure the magnets to slide out when removing the mandible/neck pieces.
Customizable Mandible Vents
The mandible vents come with a variety of customizable plates.
There are several options:
Closed

Circular Vents

Custom Mesh


The Custom Mesh is comprised of a two part, clamp down bracket. This means that a mesh material can be placed over the base and the top can be glue over the top. Then you can shave excess mesh material off the sides to be left with a custom Mandible plate cover.
None

Additionally, there is a closed option for the mandible for those that don't want the removable plate option. This closed version has a completely closed off version and a version that is still compatible with the CBRN attachment.


Helmet Attachments:
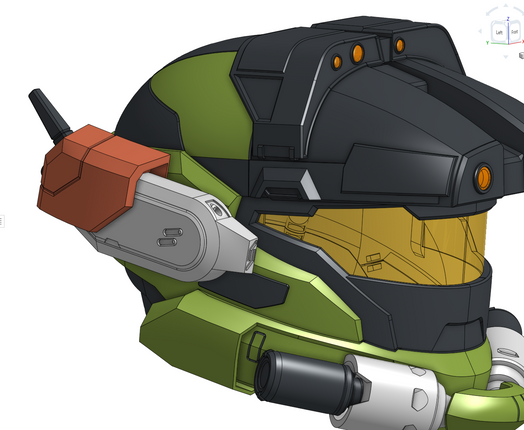
HU-RS:


The over head Hardened Uplink and Remote Sensor package have separately printable lenses. One could also cut some cheap sunglasses into some circular pieces that fit into these slots for a great reflective detail. The HU-RS is attached to the top of the SCOUT helmet by a large pill shaped post.
CBRN:

The Chemical Biological Radiological & Nuclear module is am magnetically attached mandible attachment that connects to the helmet at the mandible vents.

Two 10mm disk magnets sit inside a custom set of mandible plates as well as inside the actual CBRN cannister mounts. In total, these 8 magnets hold the CBRN securely about the mandible. To ensure the magnets stay in their slots, make sure to glue them in place, or glue a thin, sturdy material like card stock over the magnet slot openings.

The side cannisters are removable and screw into the main gas exchanger
CNM:


CNM is the first of the side helmet attachments, all of which utilize a common attachment rod. There is a side button, through which this attachment rod attaches to the helmet. There are two options, one for attachments and one that is closed.


HUL:


HUL[3]:


Easy Insert Visor System
There are two easy insert slots on either side of the visor opening. This allows for a thin reflective visor material to be cut to length and easily inserted and held in place inside the helmet. Once within each slot, the top of the helmet can be attached to completely close off the visor to prevent any movement


Builds
This helmet was a blast to print! It took less than a week overall with my two printers. For the visor I used a strip cut from these premade visor sheets
For the 10mm disk magnets I used these
I used super glue to secure the magnets into their slots.
Going forward I will sticking with this hybrid approach of magnets mixed with sectionalized 3D assembly builds. It leads to a much smaller helmet size, which works better with the overall proportions of one's full armor build. Next, I think I'll be revisiting my Commando helmet build to incorporate a magnetic assembly. It had the narrowest of all the helmet throats and by leaving it as a purely slip-on helmet, it lead to some overly exaggerated helmet sizes.