Sokka's Boomerang
- josephaguilarsanch

- Nov 25, 2020
- 2 min read
Why be ponytail guy, when you can be Boomerang guy?
Major Features

Support Free Design
I sliced it in such a way so that the two pieces could be vertically printed . While once could conceivably print it as once piece, I felt that the bottom inclines would be a nightmare to deal with. It also features a small alignment feature to ensure you properly glue the two pieces together.
Builds
So I'd like to think this build came out super well. The over all project took maybe 2 days of my typical sanding process and then 3 days of painting due to the dry times of the individual paint layers.
I used a black filament so I did not utilize an initial sanding primer layer because the dull grayish-black of the sanded areas starkly contrasted the shiny black of recessed layers/unsanded areas. Once I was content with the the first sanding pass (80 grit), I applied Bondo to the hole boomerang and wet sanded that off with 600 grit by hand. W
hat you sand your Bondo off with is not too important, because the boomerang is such a flat simple shape, 600 did not take too long, even with old paper. However, you don't want to go too coarse or you'll end up with a rough surface again anyway. For quick projects like this where I only give two sanding passes (one at 80 to roughly smooth out the shape, and one post-Bondo), I go pretty high with the second grit.
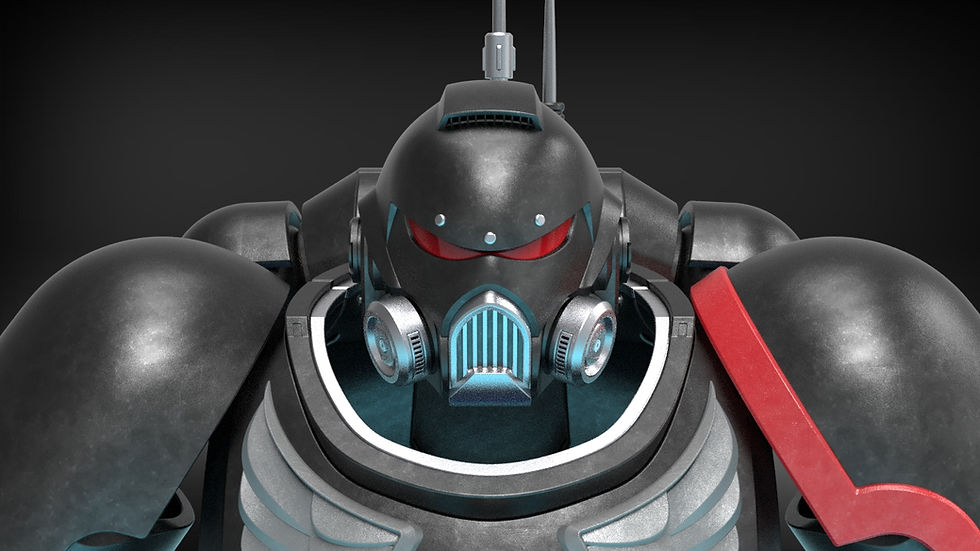
Side note: the second pic makes it look like a Fire Nation alternative skin for Sokka's Boomerang


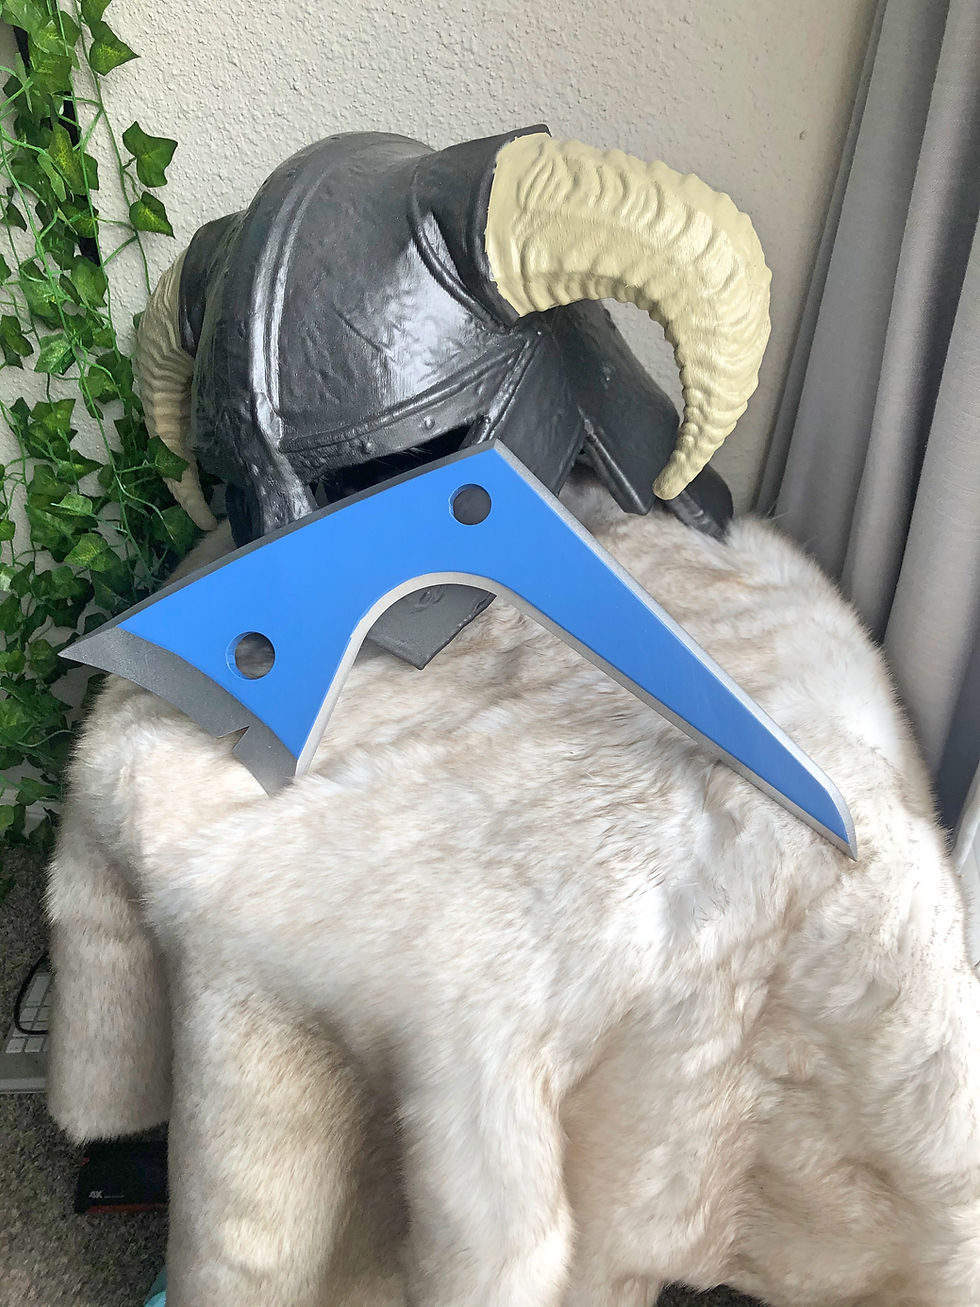
When it came to the painting process, I went with three different layers, each comprised of two passes of spray paint. The initial undercoat was some titanium-silver metallic undercoat. This further hid any imperfections and gave the boomerang its metal-look. After giving that a full day to dry, I went in and applied two layers of glossy clear-coat. I did this because next I was going to add the blue color to both faces via painters tape and was planning on sanding away the blue from the edges to make sure the blue and silver had a clean line (which is exactly what I did). After giving the clear coat a day to dry, I applied the blue paint and gave that a day to dry as well.


Overall, this was a really fun and quick project for 3D printers/prop makers alike
What Next?
If you are looking to create you own models like this one feel free to checkout all of my tutorials on 3D modeling and prop making techniques.
If you are looking to purchase the model so that you can print your own you can find it in the store.
Lastly, make sure to check back in every once in a while to see what I've been working on
Thank you for your time